Unlock the secret to irresistibly smooth, perfectly shaped fat bombs with the magic touch of silicone molds. In the world of keto and low-carb delights, silicone molds aren’t just tools-they’re game-changers. They transform sticky, rich mixtures into bite-sized works of art, making portion control effortless and presentation a breeze. Whether you’re a seasoned fat bomb aficionado or just dipping your toes into this creamy, satisfying treat, choosing the right silicone mold can elevate your creations from good to gourmet. Join us as we explore the top silicone picks that promise flawless forms, easy releases, and a sprinkle of mold magic for every indulgent bite!
Mold Magic: Top Silicone Picks for Perfect Fat Bombs begins with choosing the right silicone mold-a crucial step to elevate your keto-friendly treats from simple to spectacular. Food-grade silicone molds marry convenience with creativity, offering non-stick resilience and heat stability that lets your fat bombs shine in texture and form. Embark on this journey to discover how material quality, shape, and size influence your final creation, transforming every bite into an indulgent delight.
Prep and Cook Time
Prep: 10 minutes | Set/Freeze: 30 minutes | Total: 40 minutes
Yield
Approximately 20 bite-sized fat bombs, depending on mold size
Difficulty Level
Easy
Ingredients for Basic Fat Bomb Mixture
- 1/2 cup coconut oil, melted
- 1/2 cup cream cheese, softened
- 1/4 cup unsweetened cocoa powder
- 2 tbsp powdered erythritol
- 1 tsp vanilla extract
- Pinch of sea salt
Why Food-Grade Silicone Matters
Investing in food-grade silicone molds guarantees that your fat bombs come out perfectly shaped without any harmful chemical leaching. These molds are flexible yet durable, withstanding freezing and warming cycles repeatedly. Their heat resistance ensures that you can use them for stovetop melting or oven-setting recipes with ease, while their non-stick surface enhances flawless release-no more cracking or crumbling!
Shape and Size Tailored to Your Fat Bomb Needs
Shapes range from simple squares and circles to intricate floral or geometric designs. Smaller molds (about 1 to 1.5 inches) allow for perfect bite-sized portions, making them ideal for quick snacks or party platters. Larger cavities can be filled with layered or stuffed fat bombs for a gourmet touch. Consider your occasion: delicate shapes like hearts are delightful for gifting, while classic rounds are timeless and practical.
Top Silicone Mold Recommendations for Texture and Release
Some standout silicone molds that consistently deliver include:
- OXO Good Grips Silicone Mini Square Mold – perfect for uniform fat bombs with smooth edges.
- Wilton Perfect Results Silicone Mold – offers intricate designs that impress visually while releasing effortlessly.
- SweetCreations 24-Cavity Silicone Mold – versatile with multiple small cavities, excellent for party servings.
Instructions
- Prepare your basic fat bomb mixture: Stir together melted coconut oil, softened cream cheese, cocoa powder, erythritol, vanilla, and sea salt until smooth and homogeneous.
- Pour the mixture evenly into your chosen silicone mold, filling each cavity about three-quarters full to avoid overflow during setting.
- Tap the mold gently on the counter to remove any air bubbles trapped inside, ensuring a smooth surface.
- Freeze the mold for at least 30 minutes or until the fat bombs are completely solid.
- Demold by gently pressing the bottom of each cavity; the flexibility of silicone guarantees easy release without breakage.
- Store your fat bombs in an airtight container in the refrigerator or freezer until ready to serve.
Tips for Success
- Room temperature cream cheese blends more smoothly-avoid lumps by softening it fully before mixing.
- For a creamier texture, whip the mixture briefly before pouring.
- Add-ins like chopped nuts or shredded coconut can add texture but fill molds more carefully to maintain shape.
- To prevent waxy residue, wash molds with warm soapy water and dry completely before use.
- Layer flavors by pouring half the mixture, freezing briefly, then adding a contrasting topping layer before final freezing.
Serving Suggestions
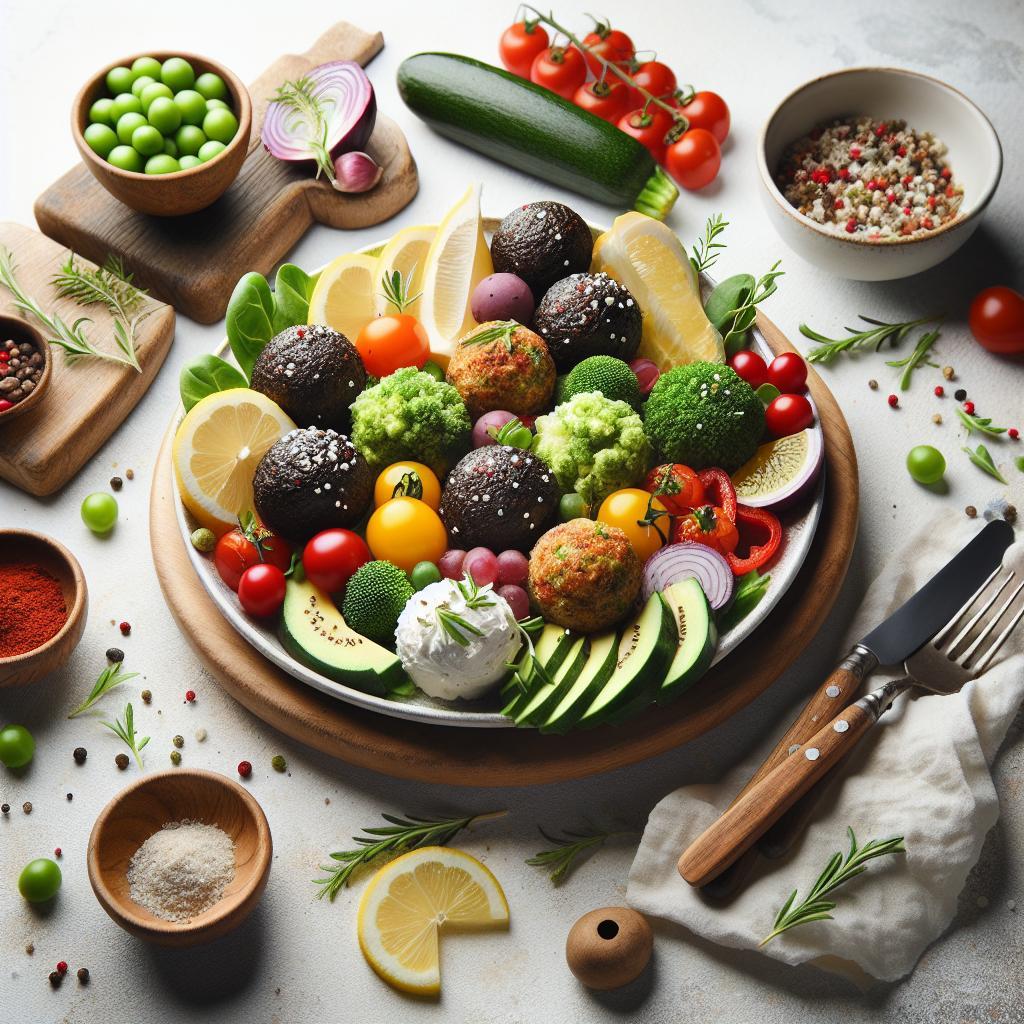
Present your fat bombs on a decorative plate garnished with fresh mint leaves or a dusting of unsweetened cocoa powder. Pair them with a tall glass of iced herbal tea or a cup of rich espresso for a truly indulgent keto snack experience. Wrapping individual fat bombs in parchment paper makes for beautiful homemade gifts, perfect for sharing at wellness events or festive gatherings.
| Nutrition Per Fat Bomb (approx.) | Amount |
|---|---|
| Calories | 110 |
| Protein | 1g |
| Carbohydrates | 2g (Net: 1g) |
| Fat | 11g |
For more on fat bomb ideas and mold magic, check out our Creative Keto Fat Bombs Guide. For the science behind silicone safety, visit FDA’s official page.

Q&A
Q&A: Mold Magic – Top Silicone Picks for Perfect Fat Bombs
Q1: What exactly are fat bombs, and why do they need special molds?
A1: Fat bombs are deliciously rich, high-fat snacks designed primarily for keto and low-carb diets. Because they’re dense and often chilled or frozen, they require molds that can handle temperature swings without cracking or sticking-enter silicone molds, the unsung heroes of fat bomb perfection.
Q2: Why choose silicone molds over other materials for fat bombs?
A2: Silicone molds are flexible, non-stick, and can withstand extreme temperatures from freezer to oven. This makes unmolding your creamy fat bombs a breeze without breaking their shape. Plus, they’re reusable, easy to clean, and come in whimsical shapes, adding fun to your healthy snacking routine.
Q3: What features make the best silicone mold for crafting fat bombs?
A3: Look for food-grade, BPA-free silicone that’s sturdy and mold-retaining. Deep cavities ensure you get a substantial fat bomb, while intricate designs can pep up presentation. Non-stick surfaces are a must for smooth release, and dishwasher-safe is a handy bonus for easy clean-up.
Q4: Can silicone molds influence the flavor or texture of fat bombs?
A4: While the molds won’t affect flavor, their design can subtly influence texture. For instance, smaller molds create bite-sized fat bombs that freeze quickly and have a firmer texture, while larger molds yield creamier centers. Also, silicone ensures even chilling without temperature hotspots.
Q5: What are some top silicone mold picks recommended for fat bombs?
A5: Fan favorites include mini muffin silicone trays for portion control, sphere molds for elegant, bite-sized treats, and novelty shapes like stars or hearts for festive fun. Brands like OXO, Lekue, and YumEarth are popular for durability and food safety.
Q6: How do I properly use silicone molds to get the perfect fat bomb?
A6: Simply pour your fat bomb mixture into the molds, smooth the surface if desired, and chill or freeze until firm. When ready, gently flex the mold to pop out your creations. Avoid sharp tools that could puncture the silicone and remember a quick rinse before and after use keeps molds in top shape.
Q7: Any creative tips for enhancing the fat bomb experience using molds?
A7: Absolutely! Try layering different flavors or colors in the molds before freezing for a marbled effect. Adding nuts or freeze-dried berries offers texture contrast. Experiment with mold shapes to match holidays or moods-fat bombs don’t just fuel your body, they feed your imagination too!
Concluding Remarks
As you embark on your fat bomb adventures, remember that the right silicone mold is more than just a tool-it’s your secret ingredient for culinary creativity and precision. With the perfect mold in hand, every bite transforms into a flawless burst of flavor and texture, worthy of both your diet goals and your taste buds. Whether you crave classic shapes or whimsical designs, these top silicone picks promise ease, durability, and a touch of magic to your fat bomb creations. So, embrace the mold magic, and let your kitchen become a playground of keto delight!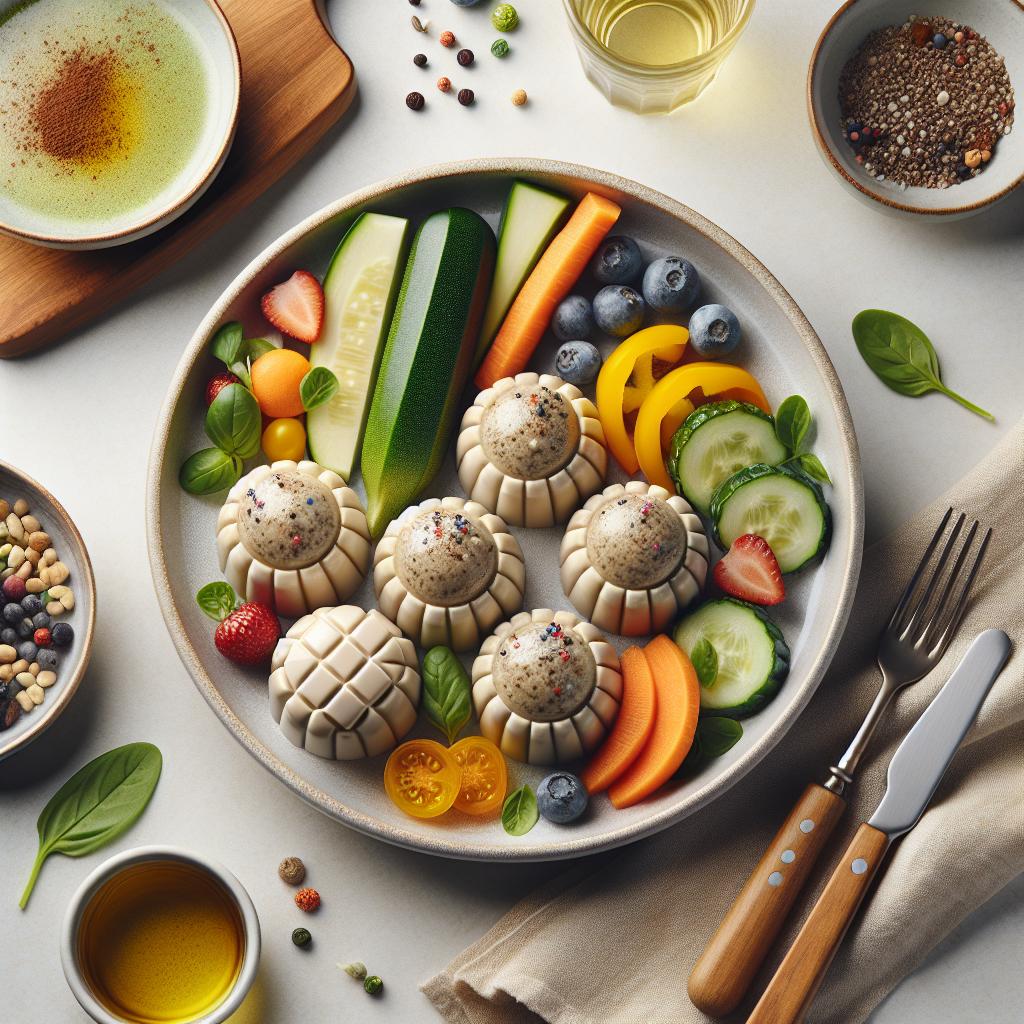

